2020….
Need I really say more.
This year has not been what any of us have expected it to be.
This was the year that my baby boy was going to real school. The first time in his life that he’d be away from me, in a classroom, for 7 hours a day.
Thinking about it would literally make me cry.
And now, here we are….10 days away from his first day. And it will be nothing like what I thought.
Selfishily a part of me is going to soak it up and enjoy the fact that I get to hold on just a little bit longer. But I know that it really is in his best interest to get into real schoo and meet new friends. Intereact in a classroom setting without me.
For now though, it’ll be at home and we will make the most of it.
**This post contains affiliate links which means if you click on a link and make a purchase I will receive a small commission at no extra cost to you**
As soon as I got the word from my kids schools that they would be remote learning for the first semester, my creative brain got to work thinking up some of the best ways to enforce some sort of normalcy and routine in our home with three kids.
We have a room that we use for my husbands at home office that we’ll be using for the girls, but I was really racking my brain on where I could set my kindergartner up for the year.
Our t.v room/Den area is a very long narrow kind of a room, and it has a little nook area that we have never really known what to do with.
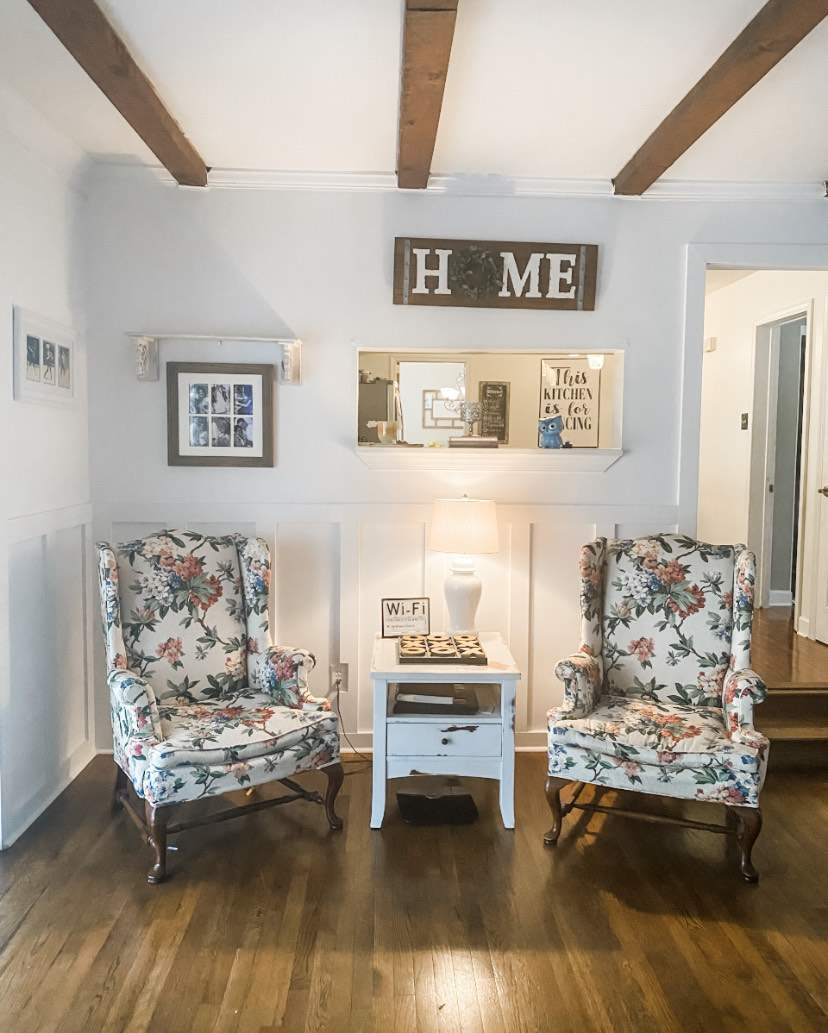
We currently had two old wingback chairs and a small table set up there but I thought it would be the perfect little corner for my little guy.
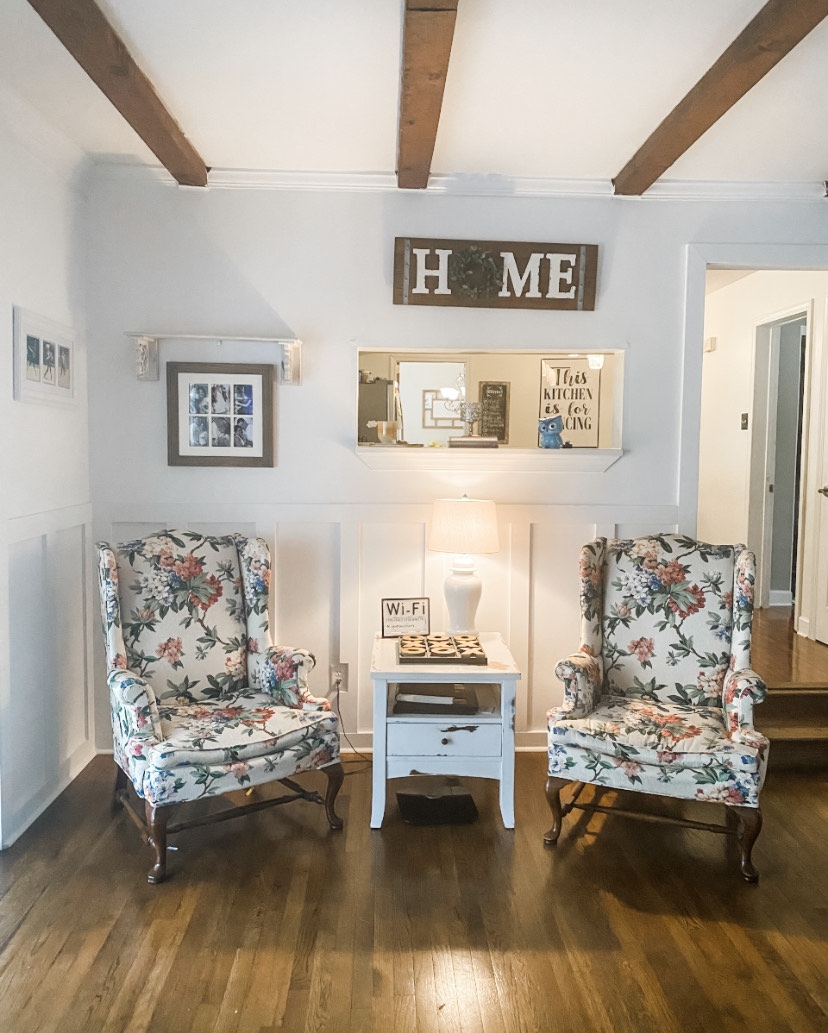
So the other day I decided to get to work transforming the space using mostly things we already had laying around the house.
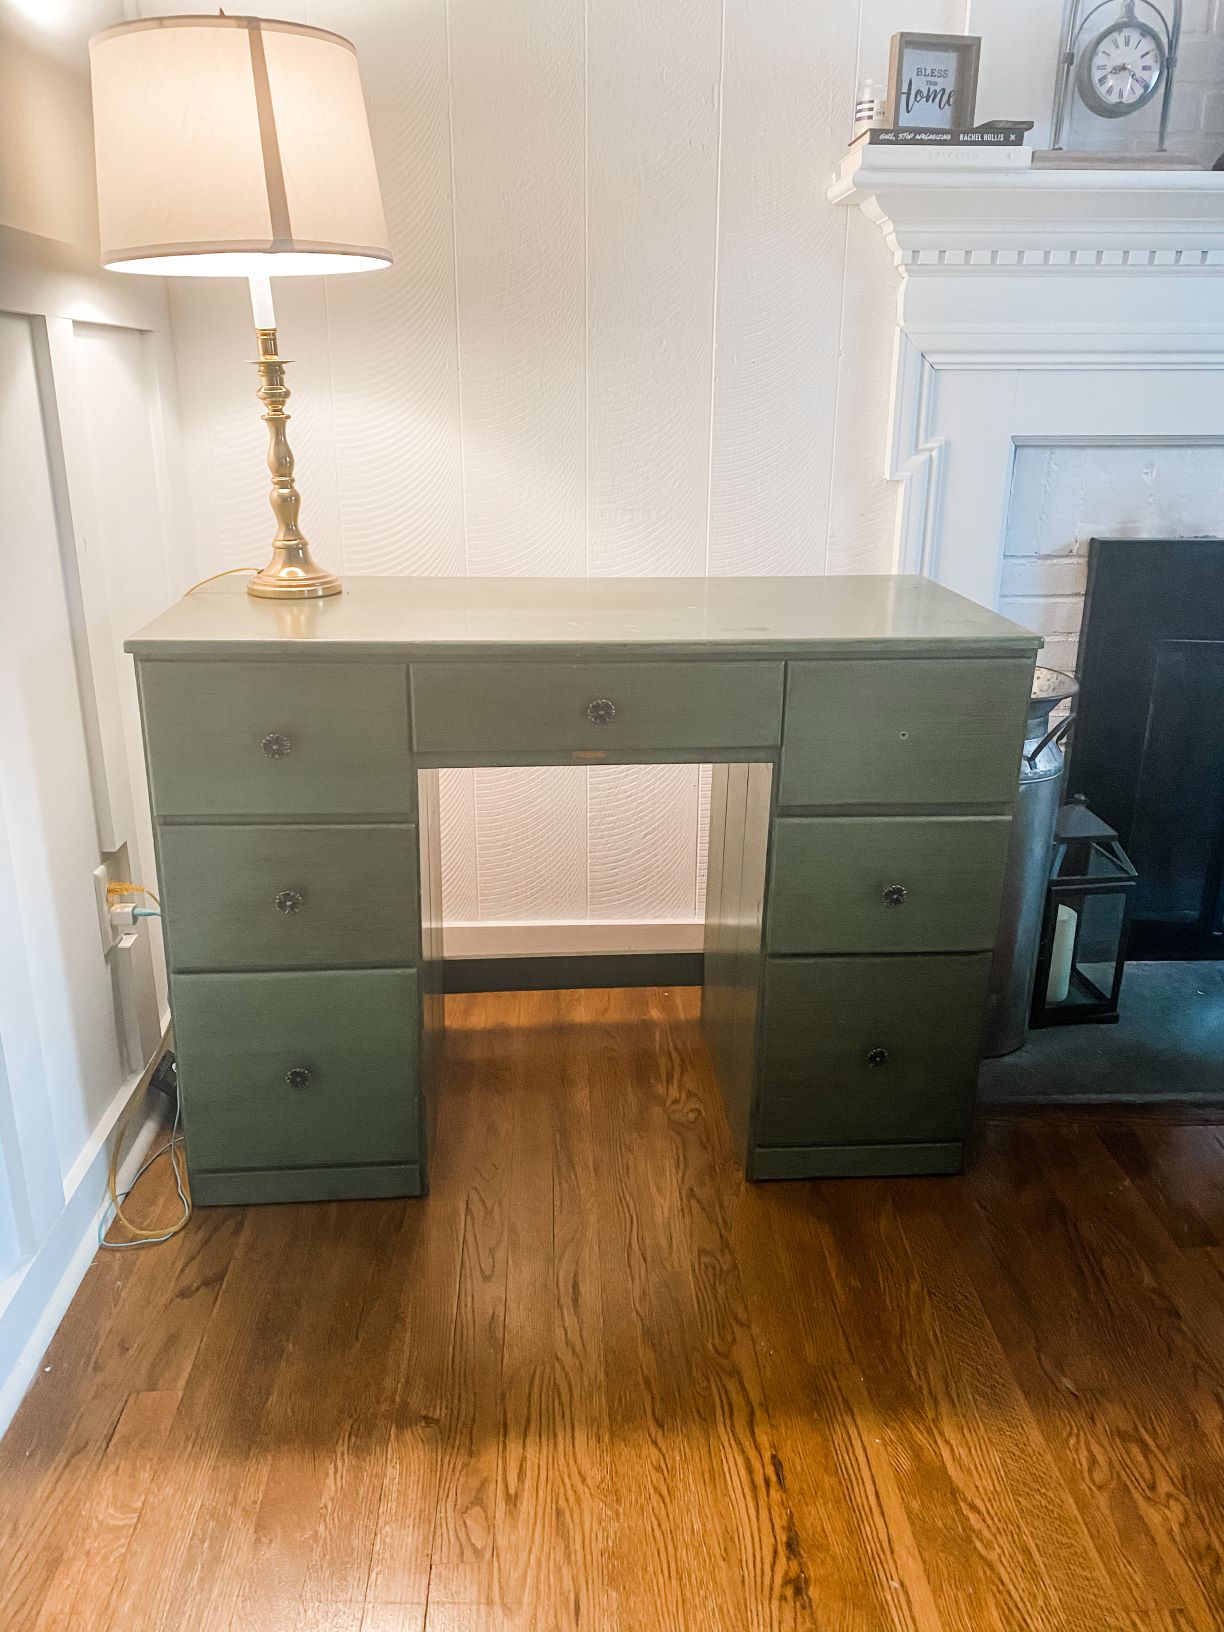
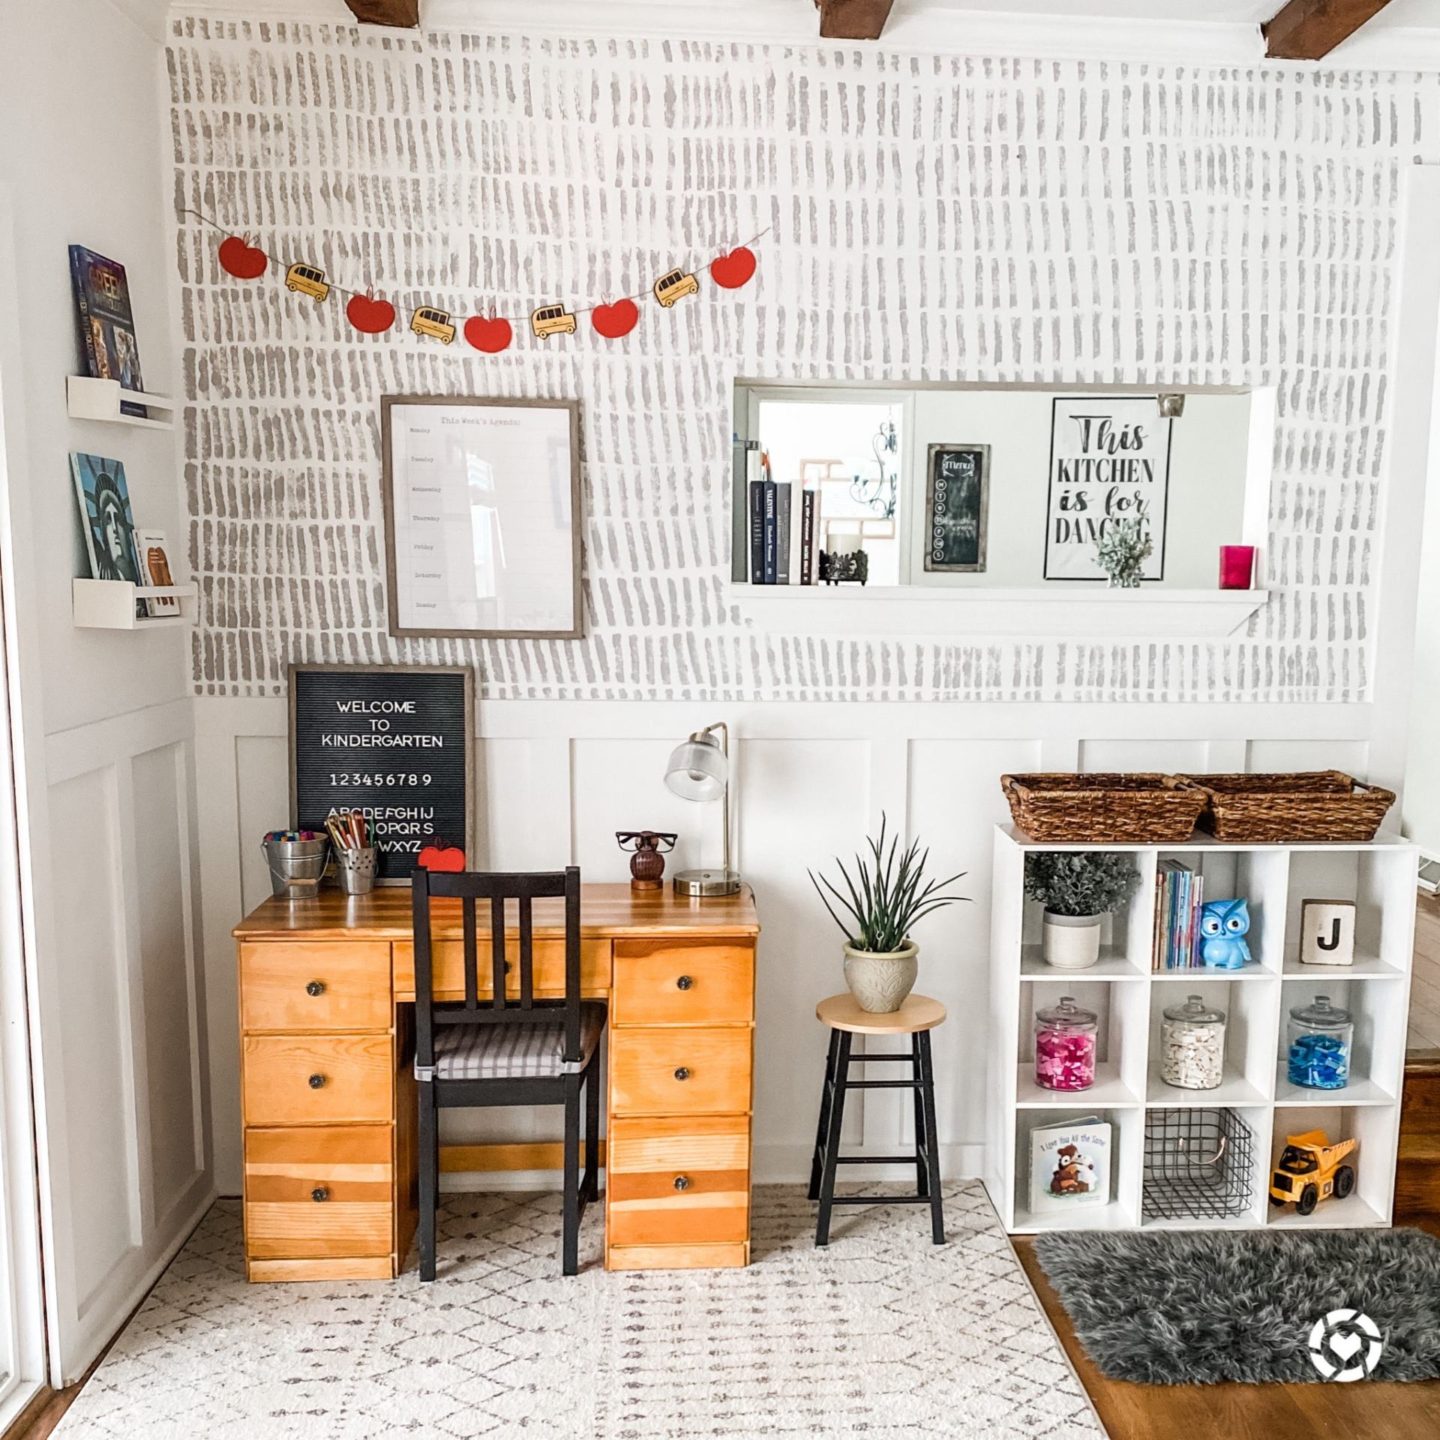
I started off with a $10 desk we had picked up at a thrift store several months ago.
It was painted an ugly green color, but other then not loving the look of it, it has been a great desk to have around for Cole
I spent a day sanding it down to its bones with the intentions of painting it, probably white. But once it was all sanded I fell in love with the natural wood look of it. So I just stained it with a very neutral stain and threw a few coats of poly over it.
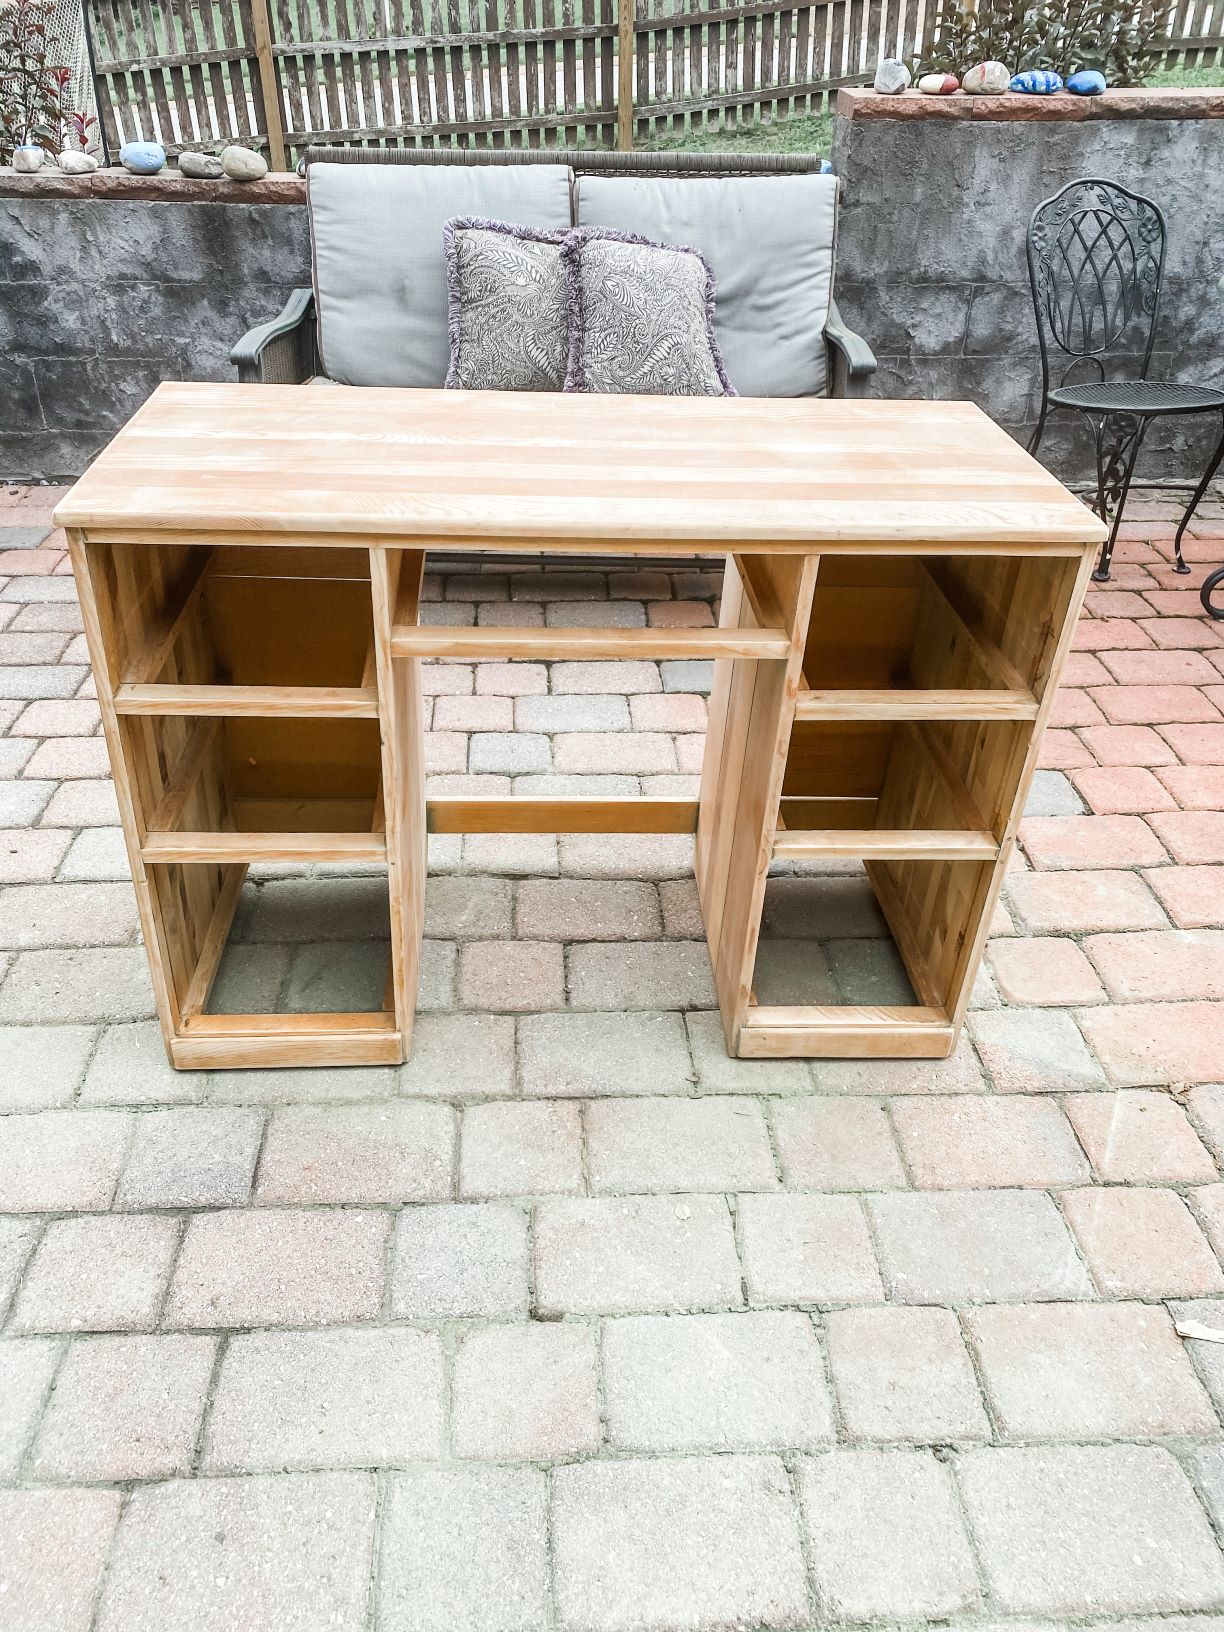
I almost wish I didn’t even put the actual stain on it.
There was just something about the look of the wood in its natural state.
But regardless I was super happy with the results and so happy I didn’t put any paint on it.
Next, I really wanted to spruce up the wall that the desk would be pushed up against. I just really wanted something fun and different. I looked up a few different wall papers but I was really wanting to stay as frugal as possible so I went with plan B.
A sponge and a little bit of leftover chalk paint.
My first time around I tried to go with a herringbone look that I had seen. But I was super impatient and went too fast, and when stepped back to look at it, the design was so lopsided! I was looking for imperfect, but it just wasn’t gonna cut it.
So, I had to paint over the entire wall, let it completely dry, and start again.
This time, I just decided to stick with the vertical design. I just cut a sponge in half lengthwise and dipped it in the paint then went to town.
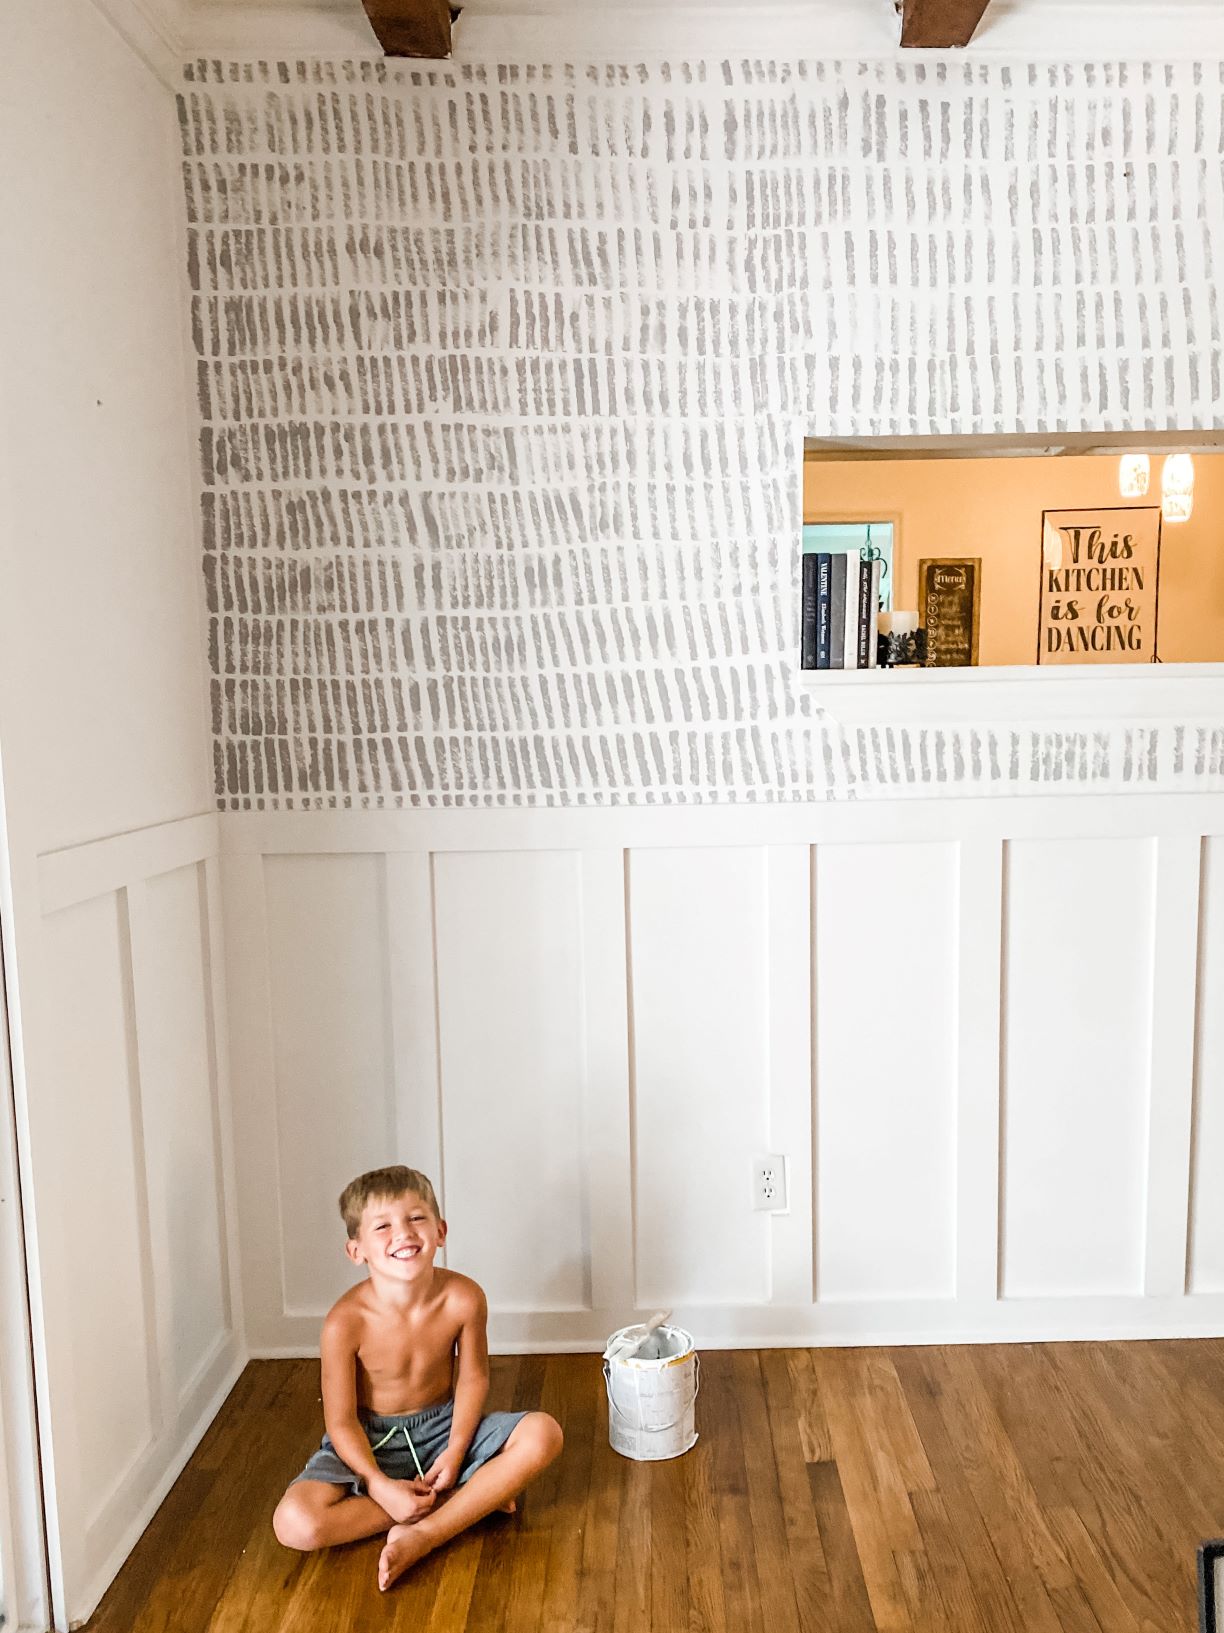
I love it! My husband doesn’t want to admit it yet, but I think its grown on him.
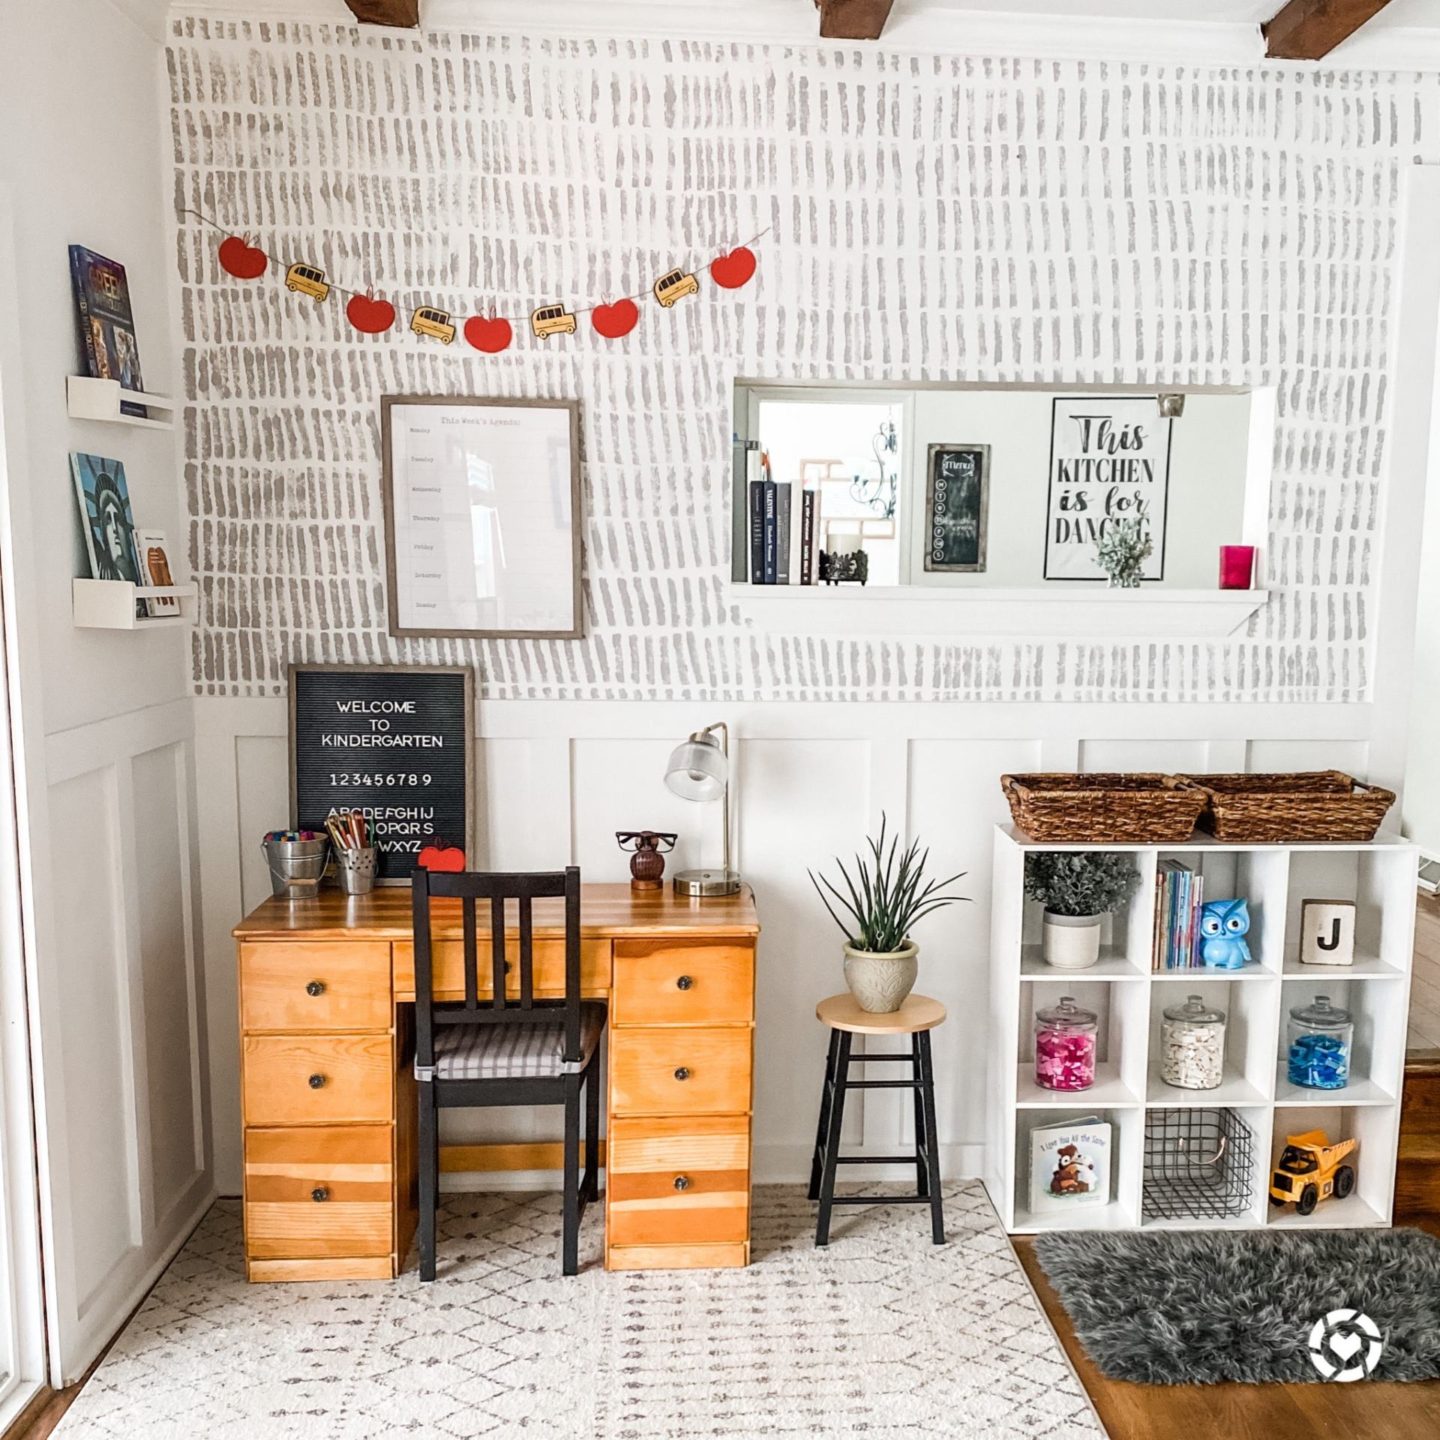
Once all the desk and the wall were done, I was ready to shop my house to decorate!
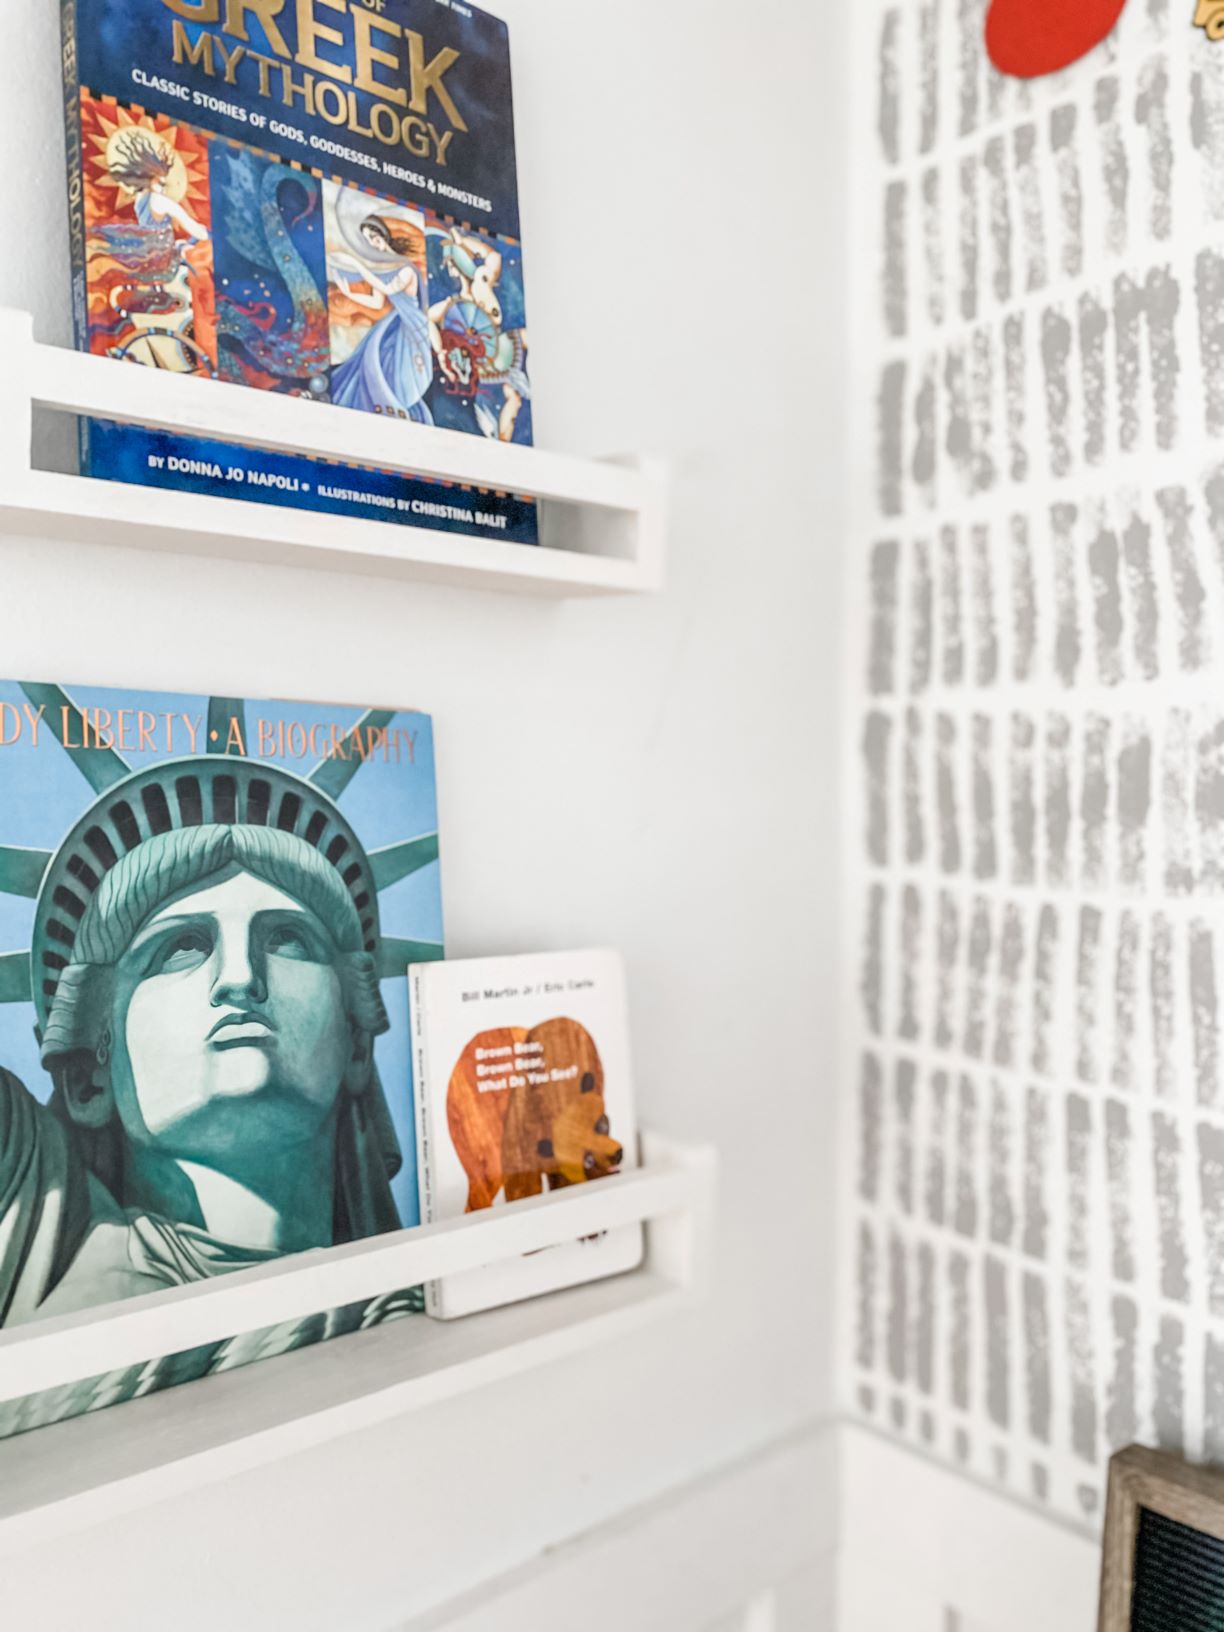
I did buy these floating shelves on Amazon and painted them white.
My son is learning Greek this year so I thought it would be fun to display our Greek Mythology book, along with this Statue of Liberty book because its been a goal of his for the past few years to go see her. And yes, he’s only five. I also displayed the Brown Bear Brown Bear book, because this was my all time favorite book in Kindergarten, and the book itself was gifted to Cole at our baby shower by my very first Kindergarten bestie.
This nine cubby shelf was down in our basement, not being put to good use so I grabbed that to fill a little bit of a void on the wall and started looking around for things to display.
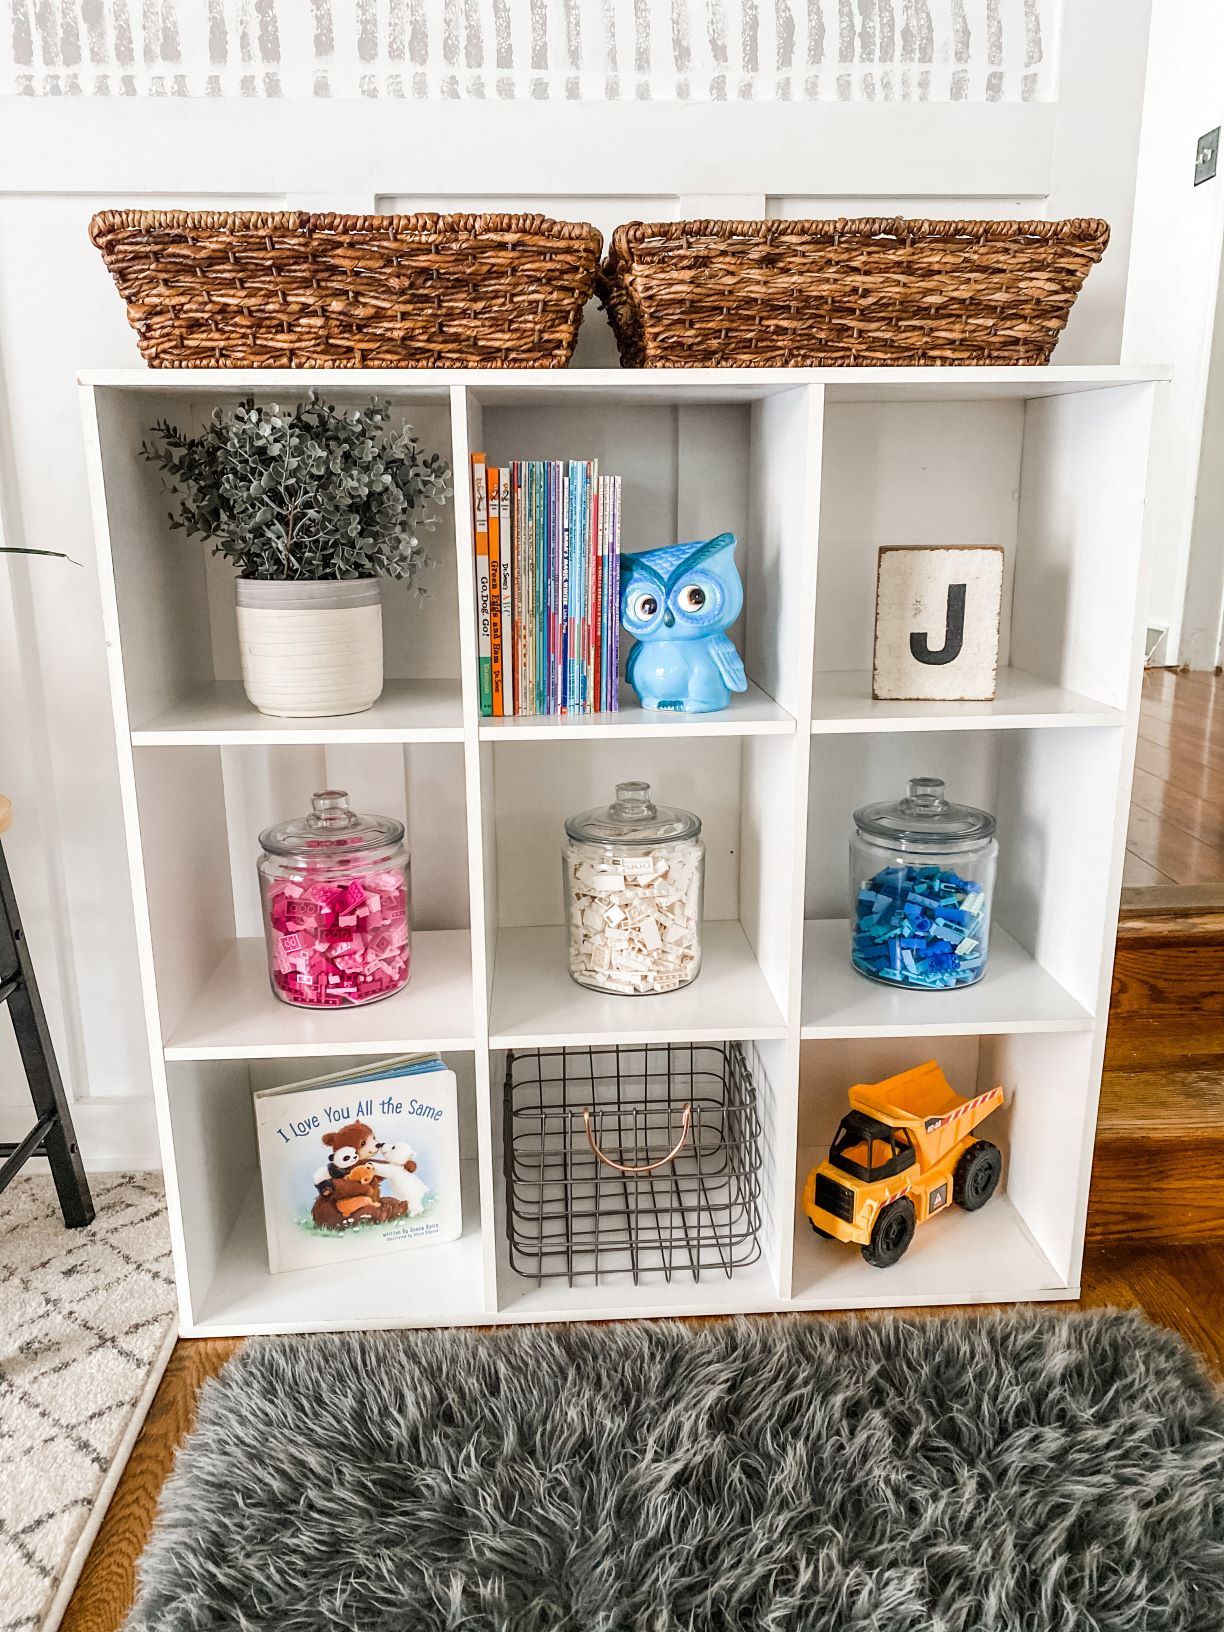
We had a bunch of My first Read books from when the girls were young so I grabbed some of those and held them up with our cute little owl “piggy” bank.
Then I took our glass jars from the kitchen and filled them with legos.
The baskets on top are from target, I bought them a few years back but they weren’t currently being used either so I will use them on top for his papers that need to be completed and to hold some arts and crafts supplies.
Once all that was set up I hung up our weekly schedule dry erase frame that I found at Home Goods, but still felt like there was a little something missing. So I got my oldest to help me create this apple and school bus banner with some cardstock and our cricut machine.
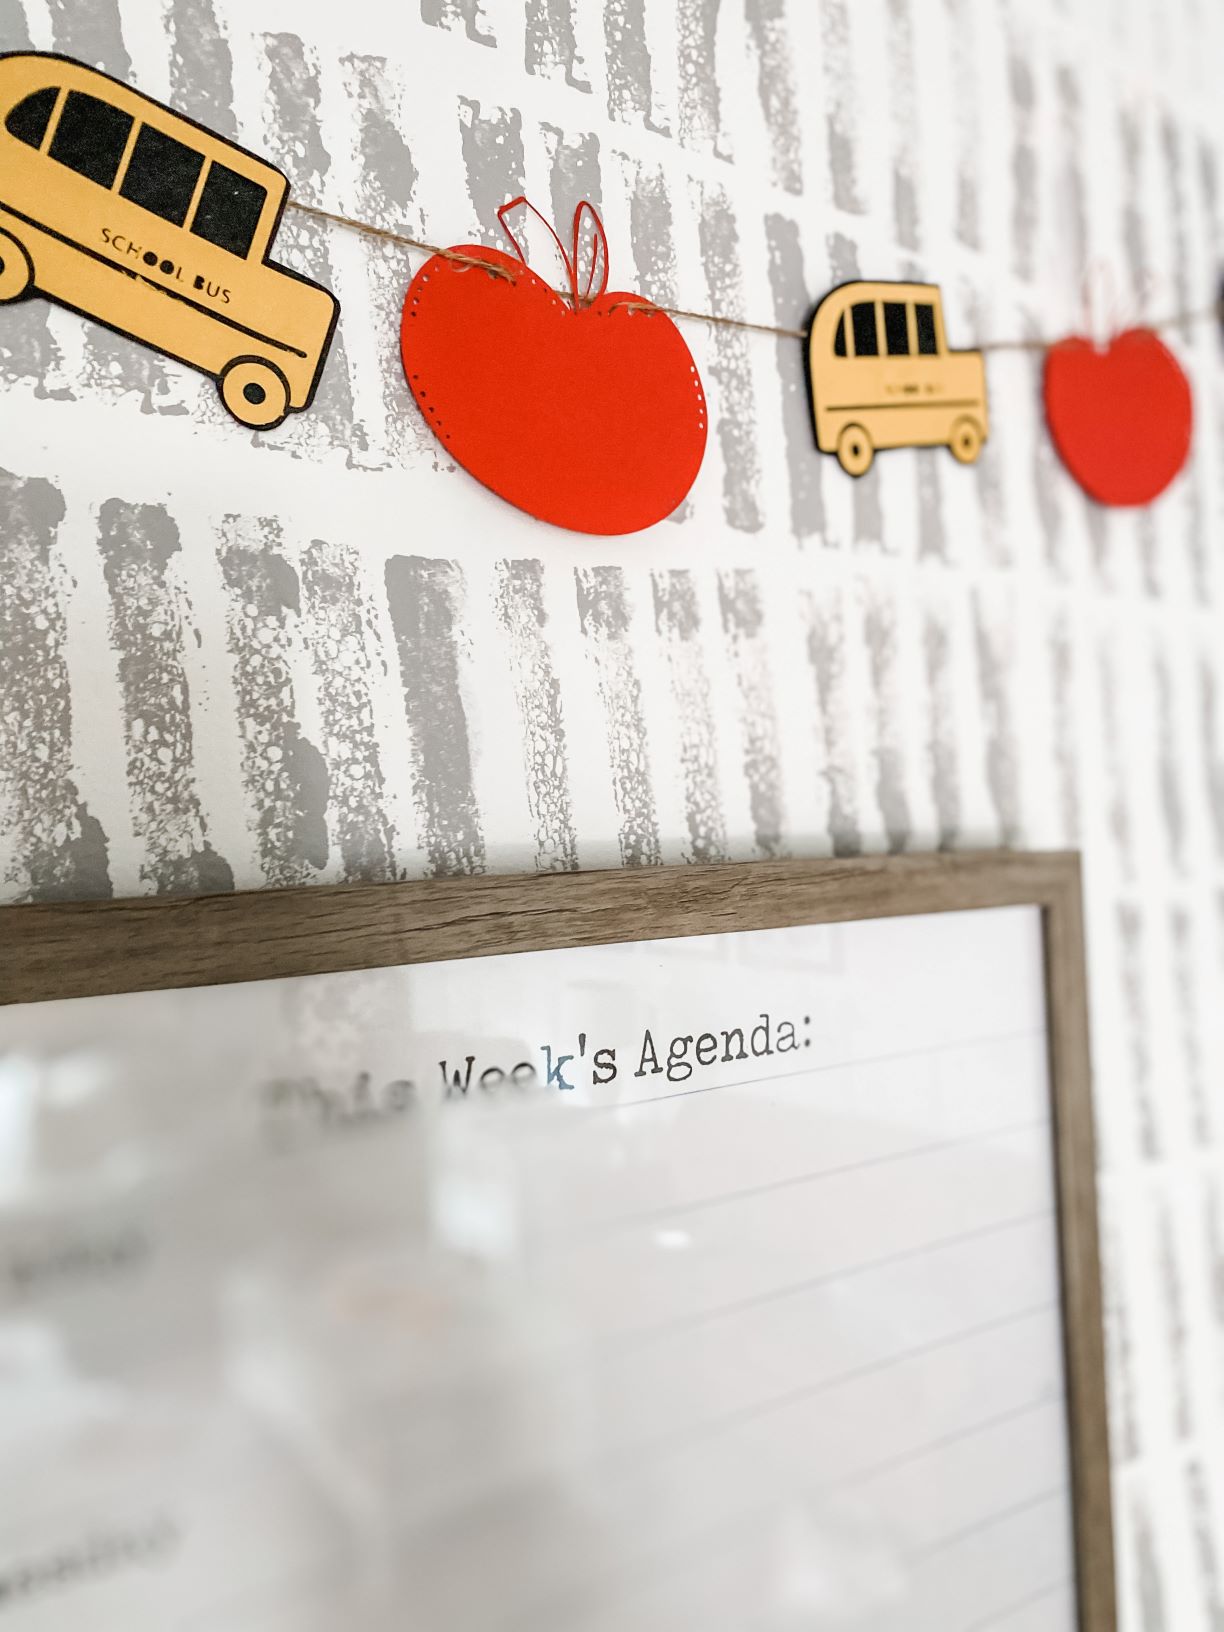
Then I pulled the small area rug that we already had in his room, another small gray shag rug, our letter board, and a stool and plant to complete the look!
The total cost of our little project was around $40 and that includes the stain.
He has given this space his own seal of approval. He told me he really loves it and he can’t wait to start kindergarten now. 🙂 I just love this little boy.
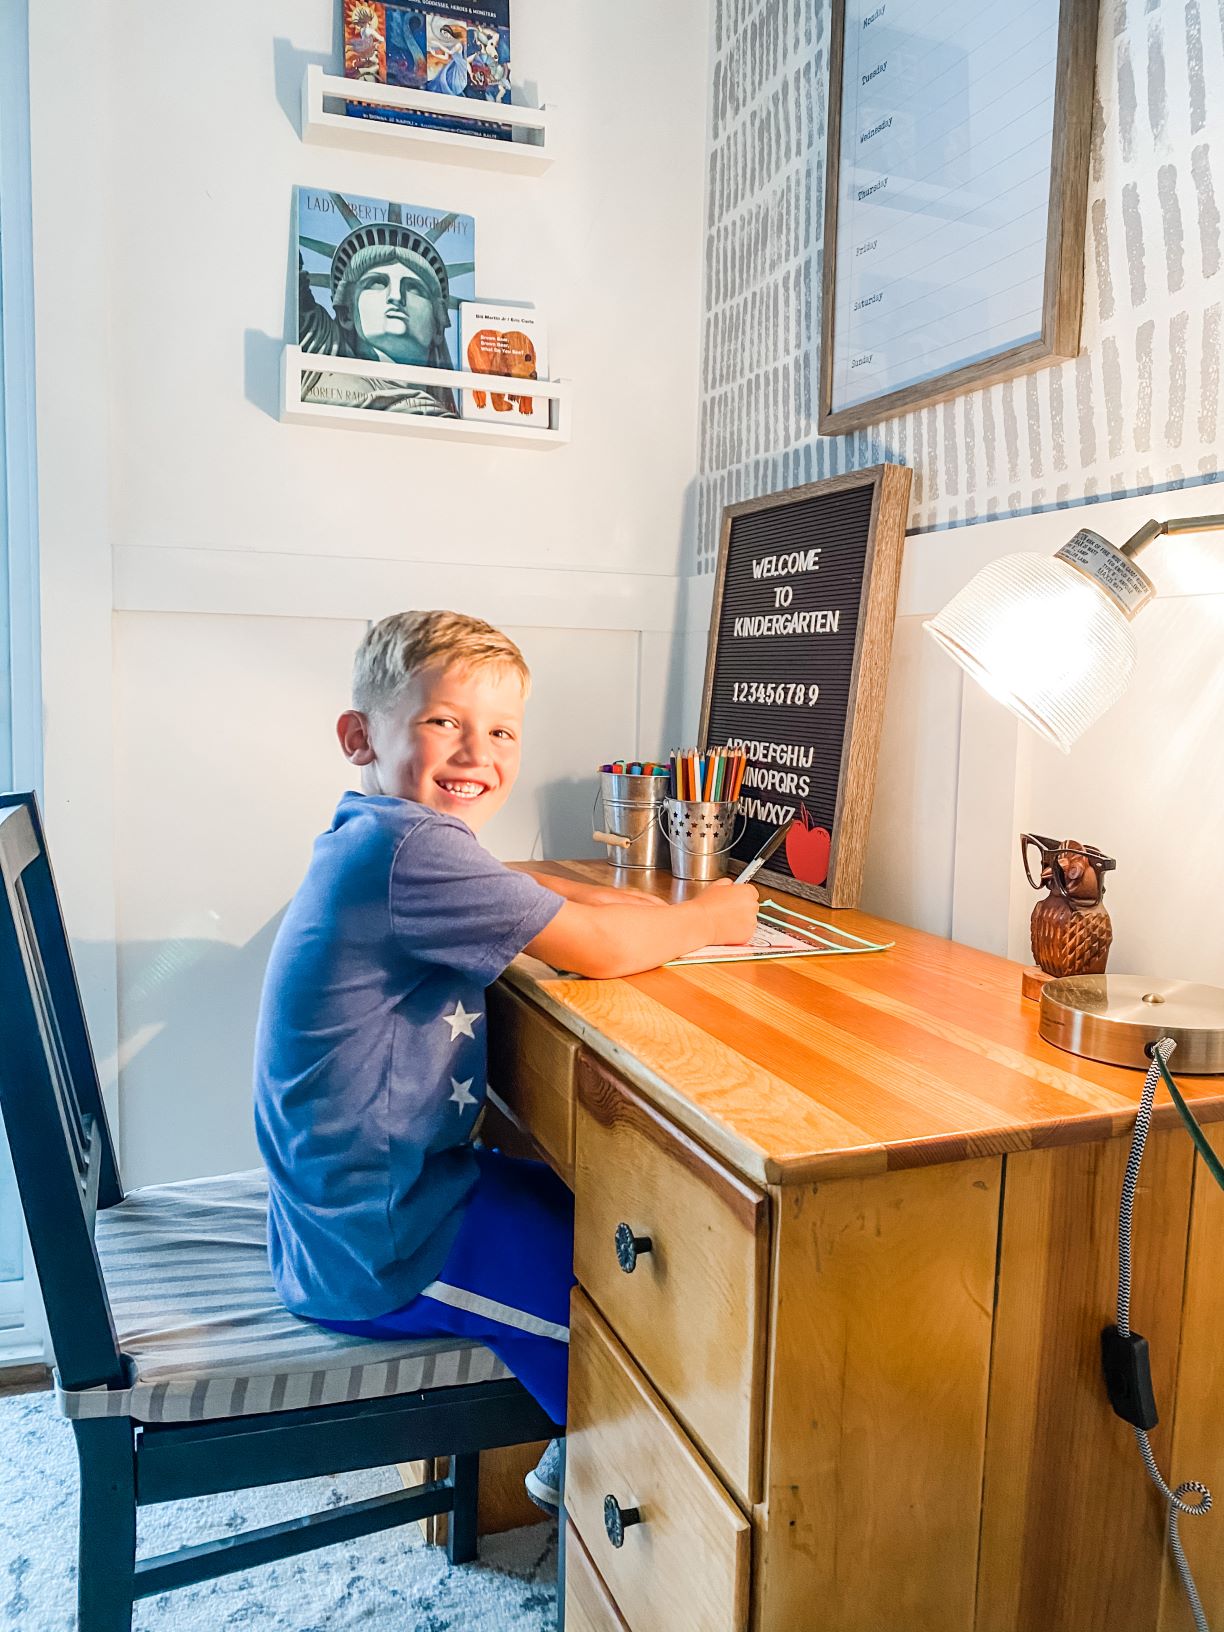
This whole “homeschooling” experience is just so bittersweet to me.
I know deep down that my little boy should be in school. And I truly do want that for him. We are so ready for normalcy. But I am really going to hang on to these precious extra moments with him, even though I’ll most likely be pulling my hair out by the end of every day. 😉
Have any of you started school yet? Are you hybrid? Full time in person? or Full time online like us?
I’d love to hear some feedback and tips on what y’all are doing!
Here is the side by side, before and after of the space.
These simple things really make me so giddy!
I hope you all enjoyed our little transformation. 🙂
Have a wonderul week!!


The desk looks amazing! And I love that wall! We’ve been homeschooling for 3 years and it’s the best decision we’ve made. Our daughter went to elementary school, then after 5th grade we decided to homeschool. I wish you all the best with school this year!