Good Morning beautiful people!
How are we all doing? Hanging in there I hope. I’m not gonna lie, there have been some pretty tough days around here.
Some days we get up and conquer the world “aka our home” Other days, we Tiger King Marathon it and binge eat our feelings.
But we’re getting by.
One loooong day at a time.
I hope you all can say the same.
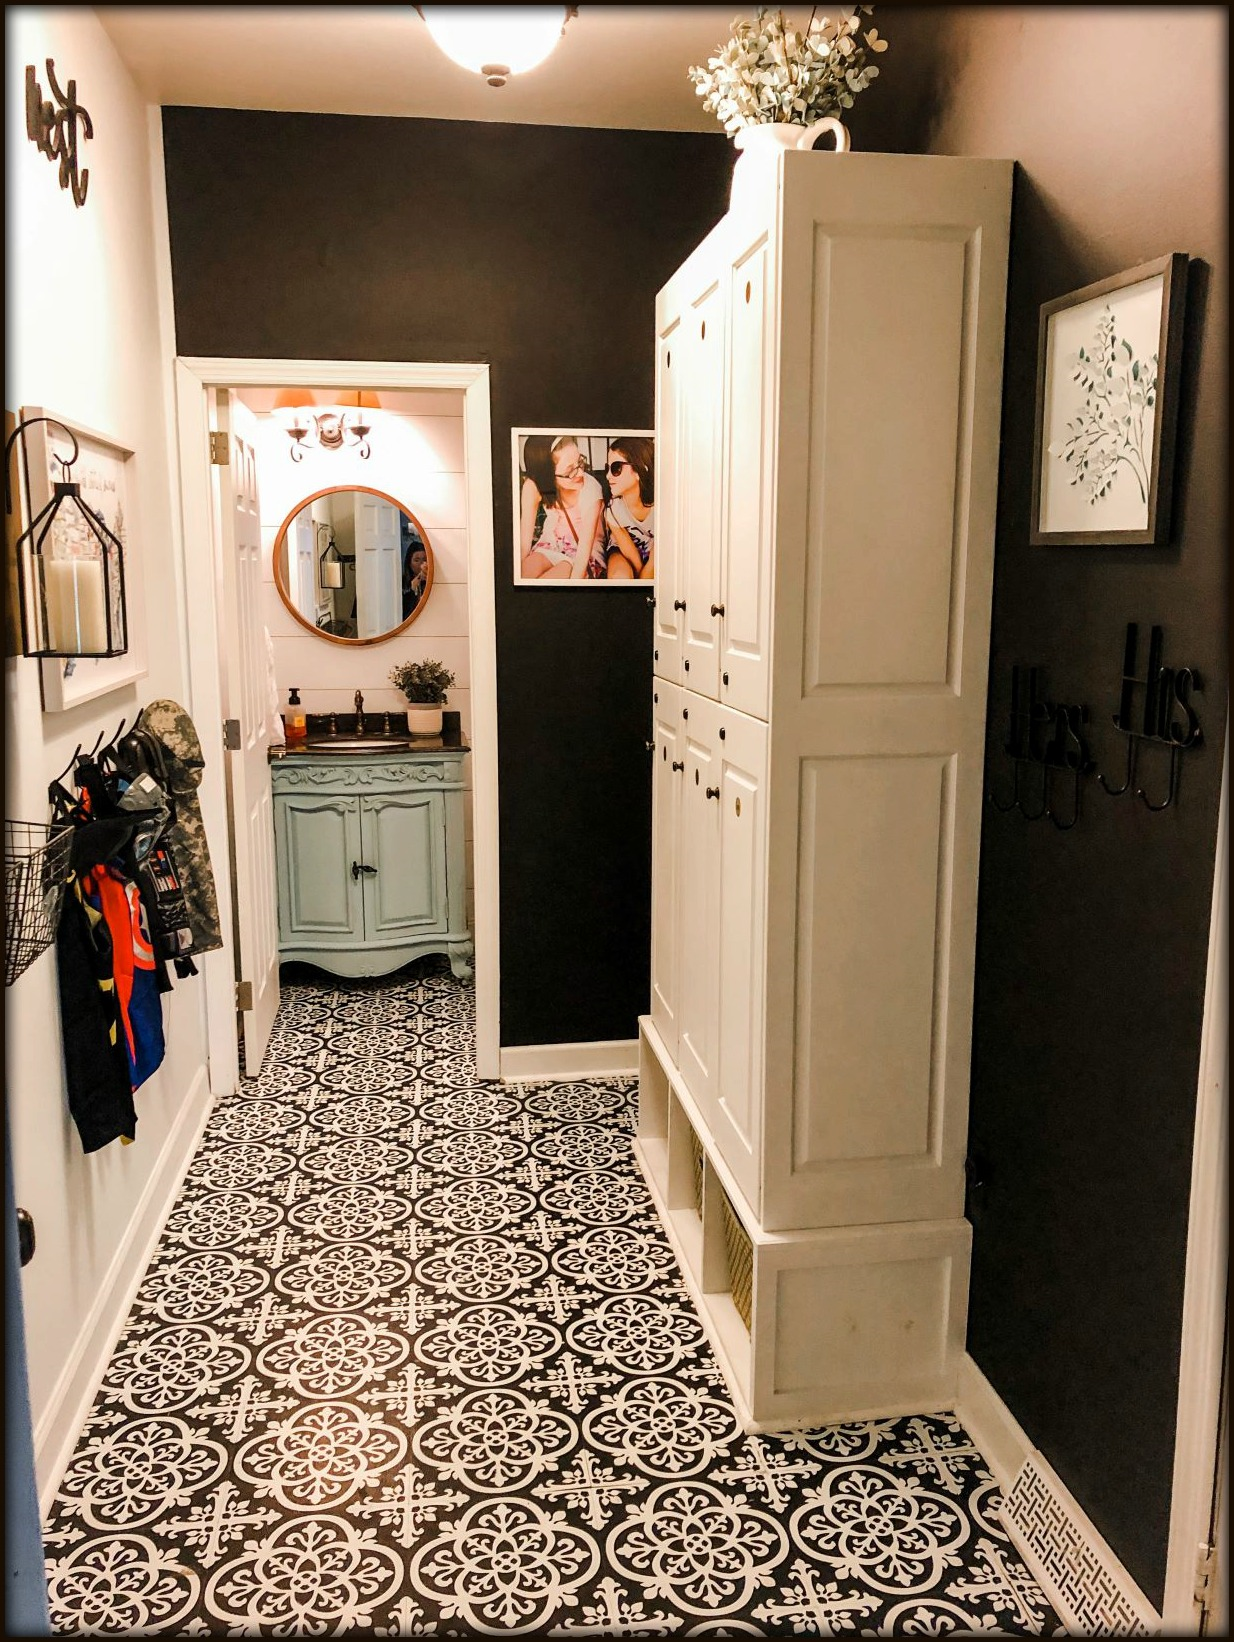
I’m hopping on here today to FINALLY share with you all our mudroom makeover!
To be honest there are still several things I want to change about it, but we are working with our budgets these days so I’m sticking with what I’ve got and I’ll update any changes we may make as they progress in the very distant future. 🙂
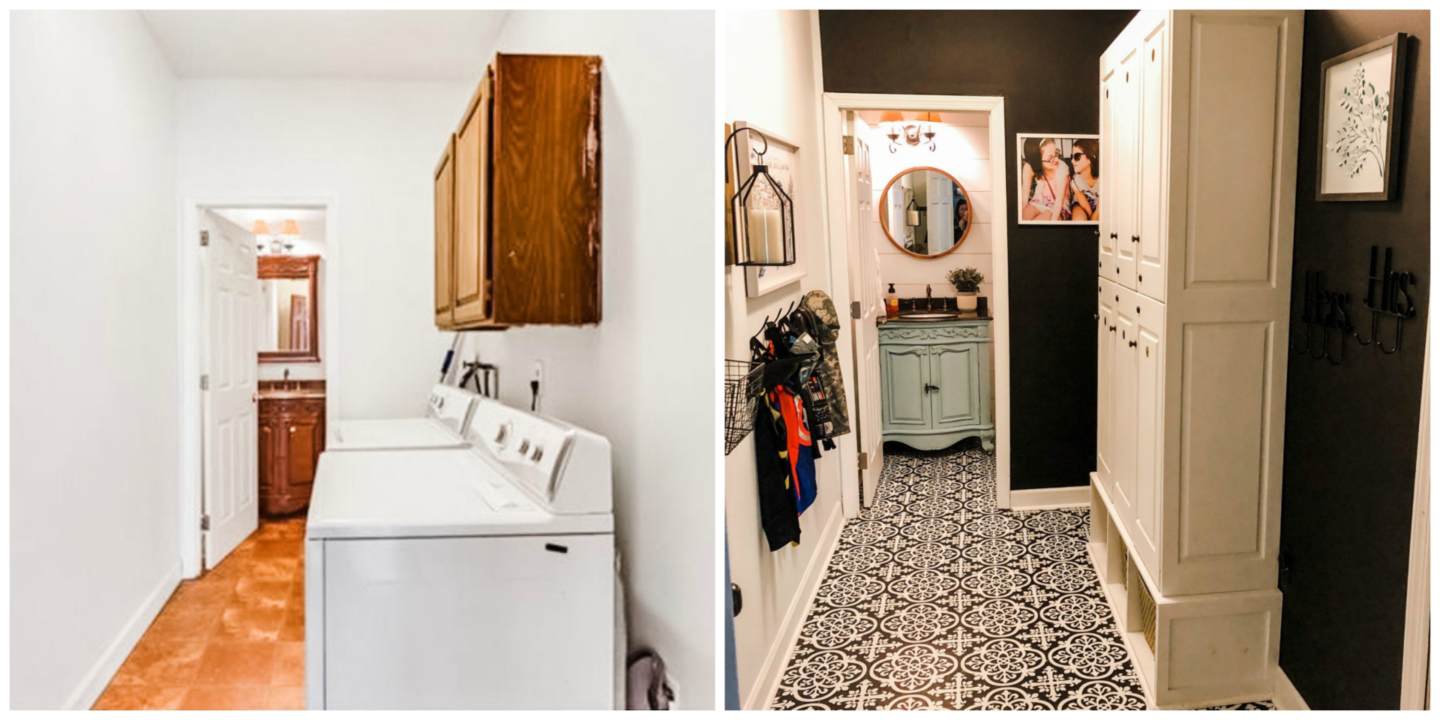
So first up, if you haven’t seen it before, here is what the Mudroom looked like when we first moved in.
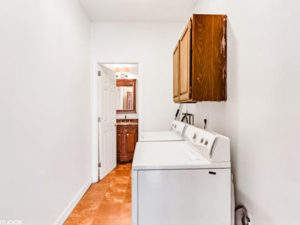
I was honestly so excited to have a main level laundry room, until we realized the previous owners had the dryer vent going out into the garage wreaking lint havoc all over!
We discussed a few options but in the end decided to just move the washer and dryer downstairs and create a mudroom upstairs.
The process took way longer then we hoped it would since we like to do everything ourselves.
Figuring out where the best spot for the new dryer vent was and then getting the plumbing all hooked up. We spent several weeks with the dryer downstairs and the washing machine upstairs.
That was fun.
So while we were waiting on all that we redid our little powder room for well under $100!! Check it out here! Just a couple packs of floor pops and a can of chalk paint can make a HUGE difference!
Once we finally got everything moved downstairs we were all ready to paint the walls and lay the floor.
We decided to go bold and paint two of the walls black!
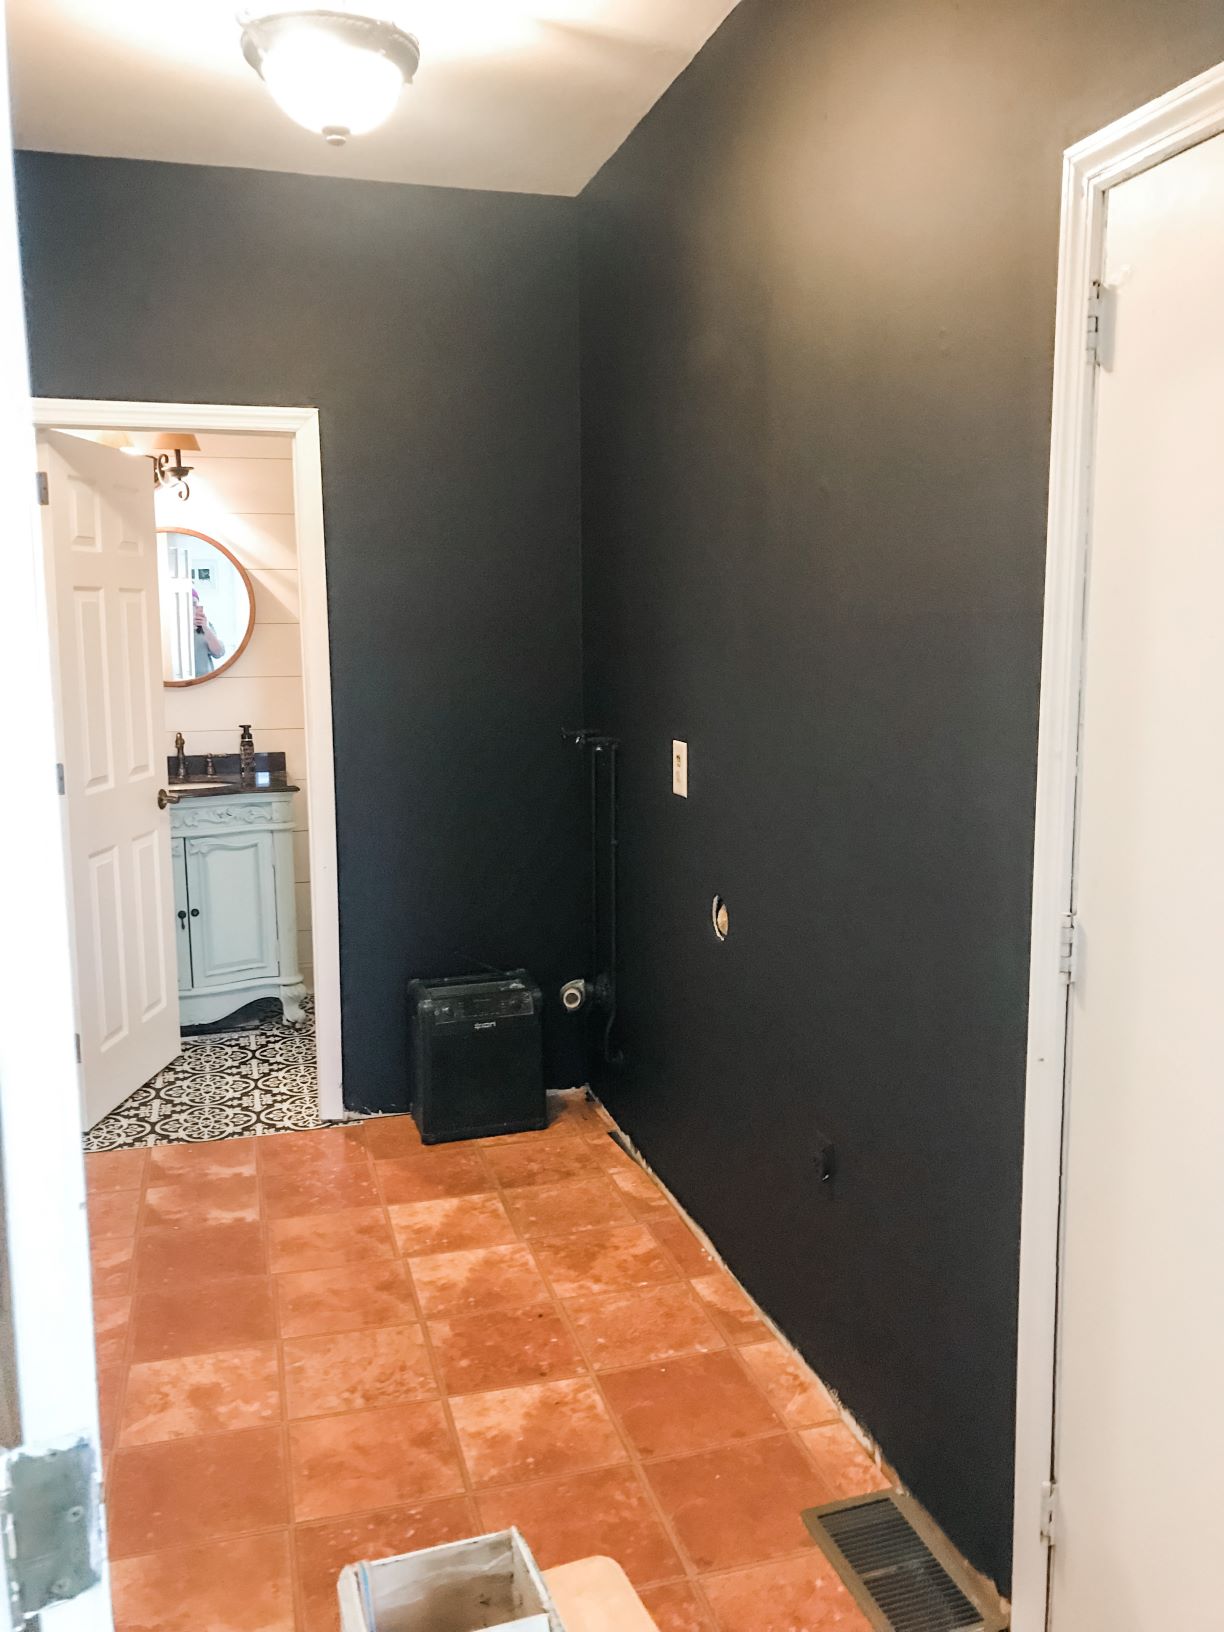
These floor pop tiles were so easy to lay and soo affordable. We actually lucked out and found the already reasonably priced tiles ($16/10) on sale for nearly half off ($9/10) on the day we went back to place the order!
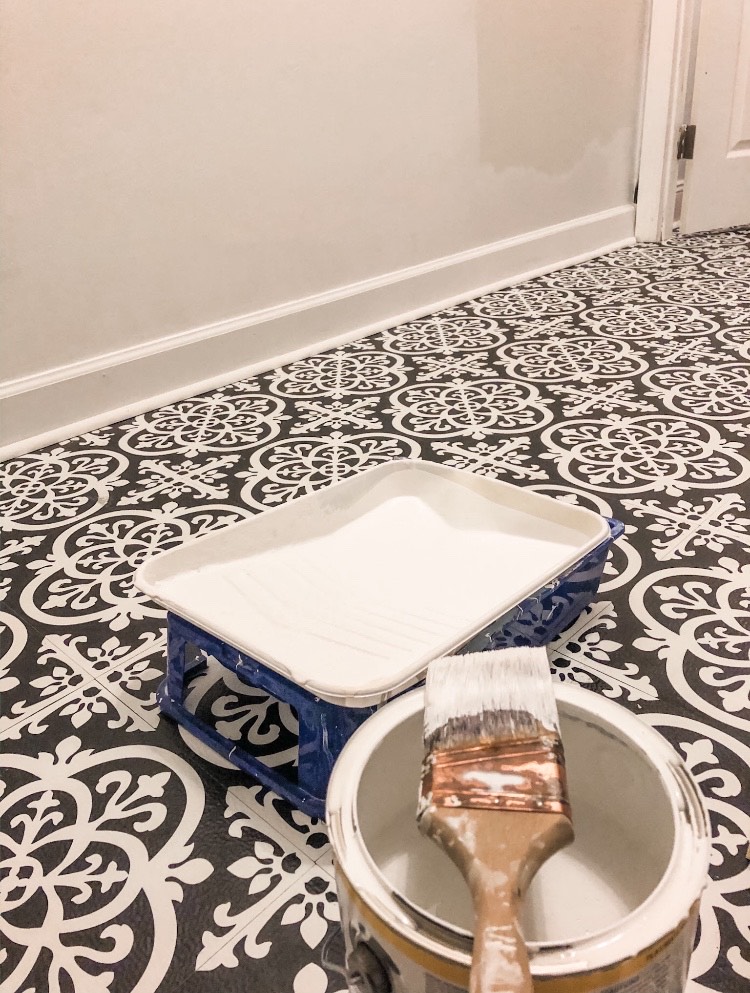
We were able to snag some old lockers that one of the country clubs was getting rid of for FREE. They were an old oak color which we didn’t love, but they were in great condition, so we loaded them up and put a few coats of white paint on them.
We thought the white lockers would be perfect to put against the black walls.
They were a little shorter then we wanted them to be so mike built a box underneath to add shoe cubbies and the height we were looking for.
Then we just shopped the house for a few things for the walls plus a couple things from Marshalls and Hobby Lobby and we finished this beauty up for under $120.
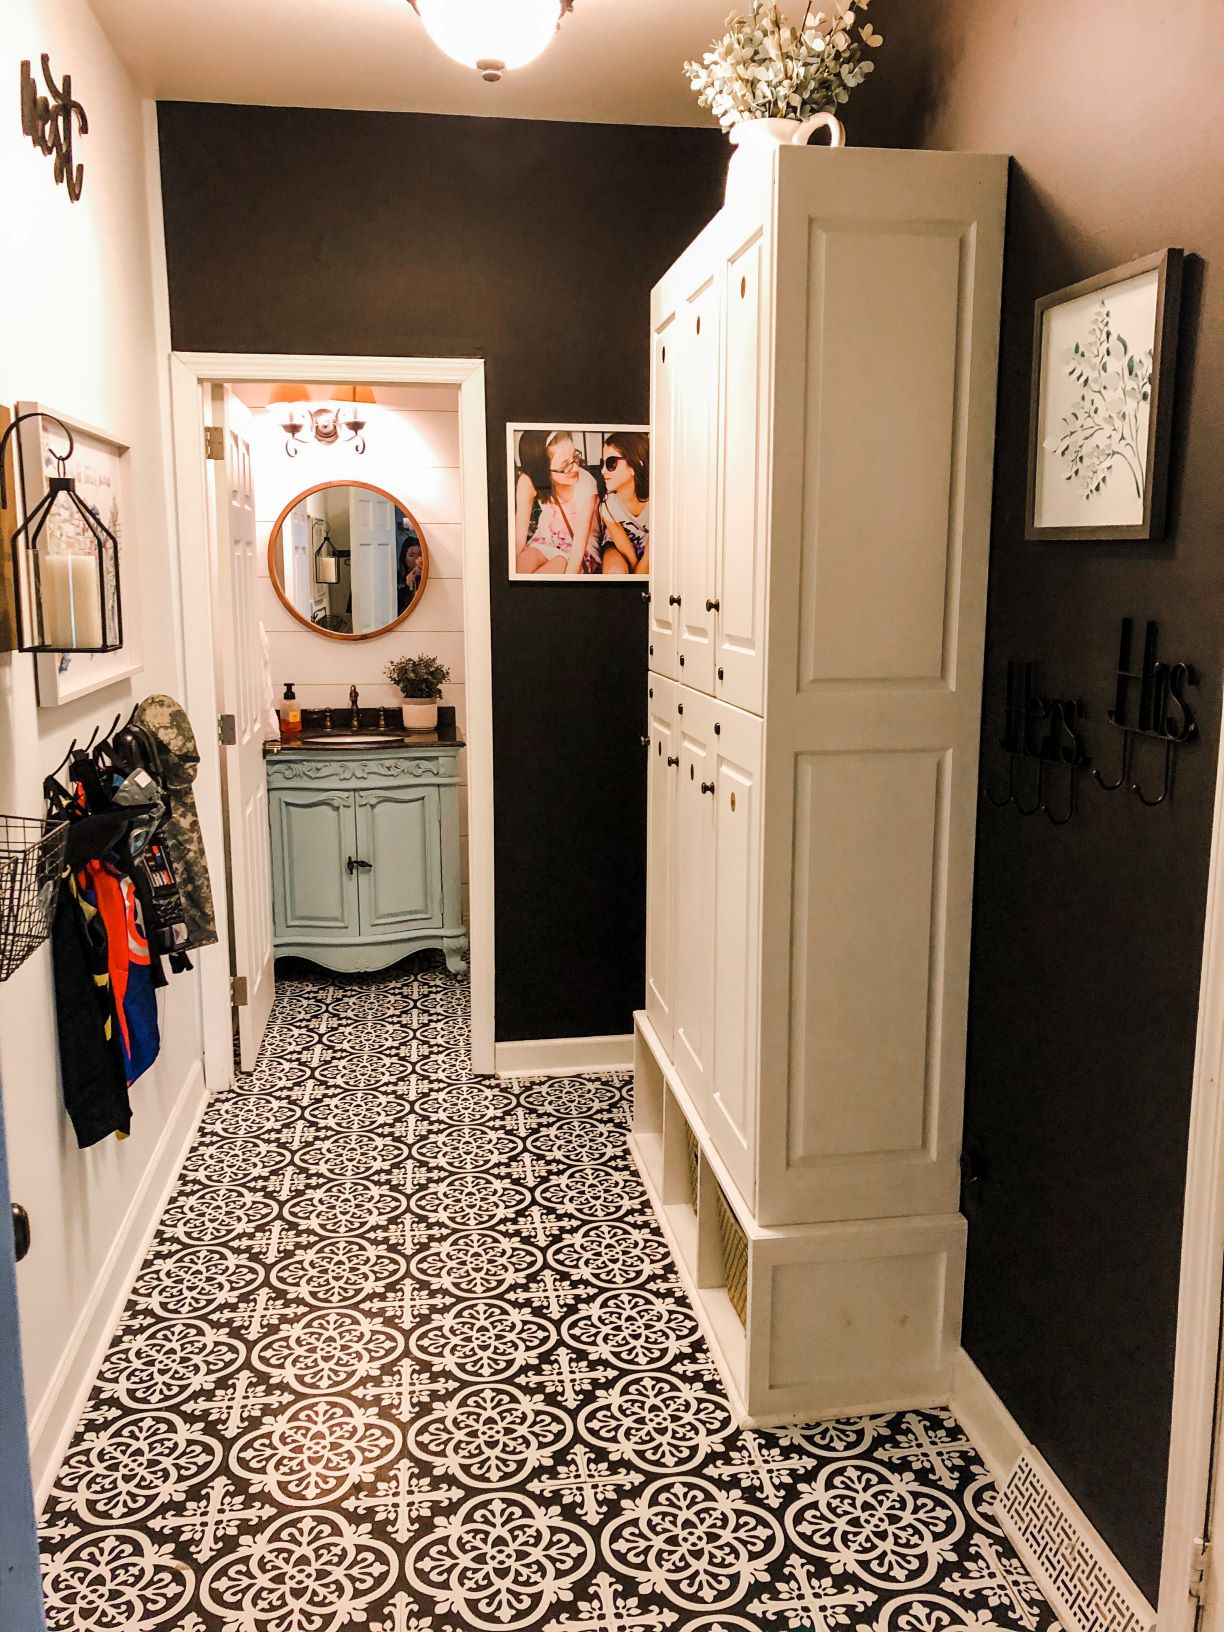
The before and after seriously makes me so giddy! And as it turns out I’d much rather have a mudroom/lockerroom area here then the washer and dryer. Its really not that big of a deal heading downstairs with the laundry. 😉
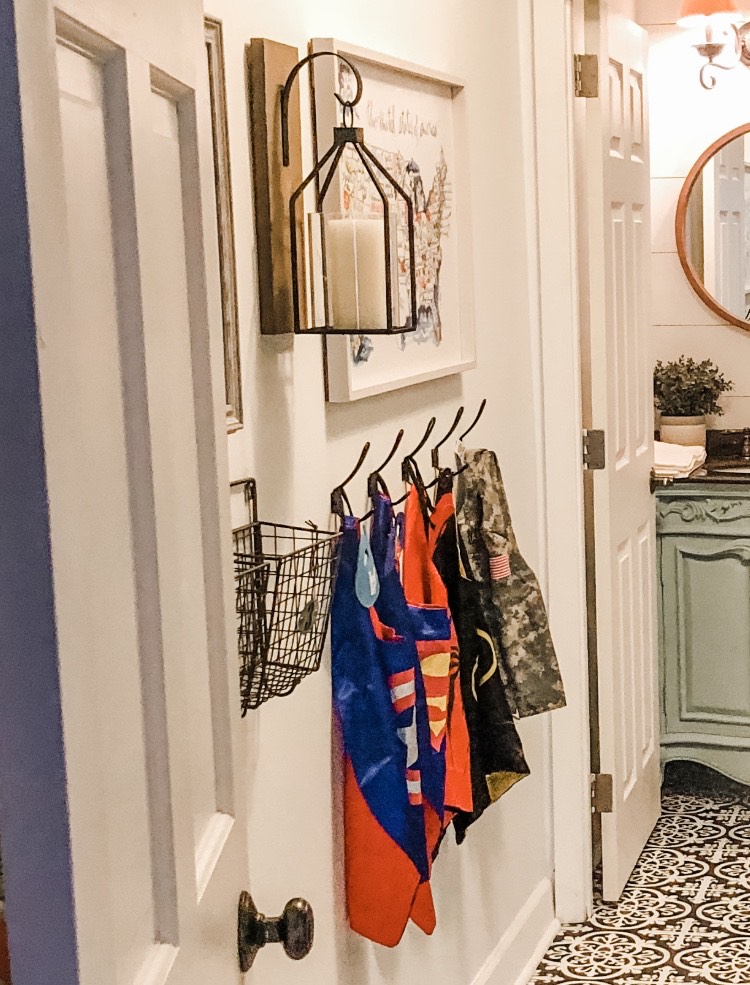
Mike hung all of Cole’s superhero and dress-up things on the hooks I got, which wasn’t initially my thought. But when he hung them up under the U.S map and stated that it would be the kids daily reminder that they can go anywhere and be anything, I just had to leave them there. 🙂
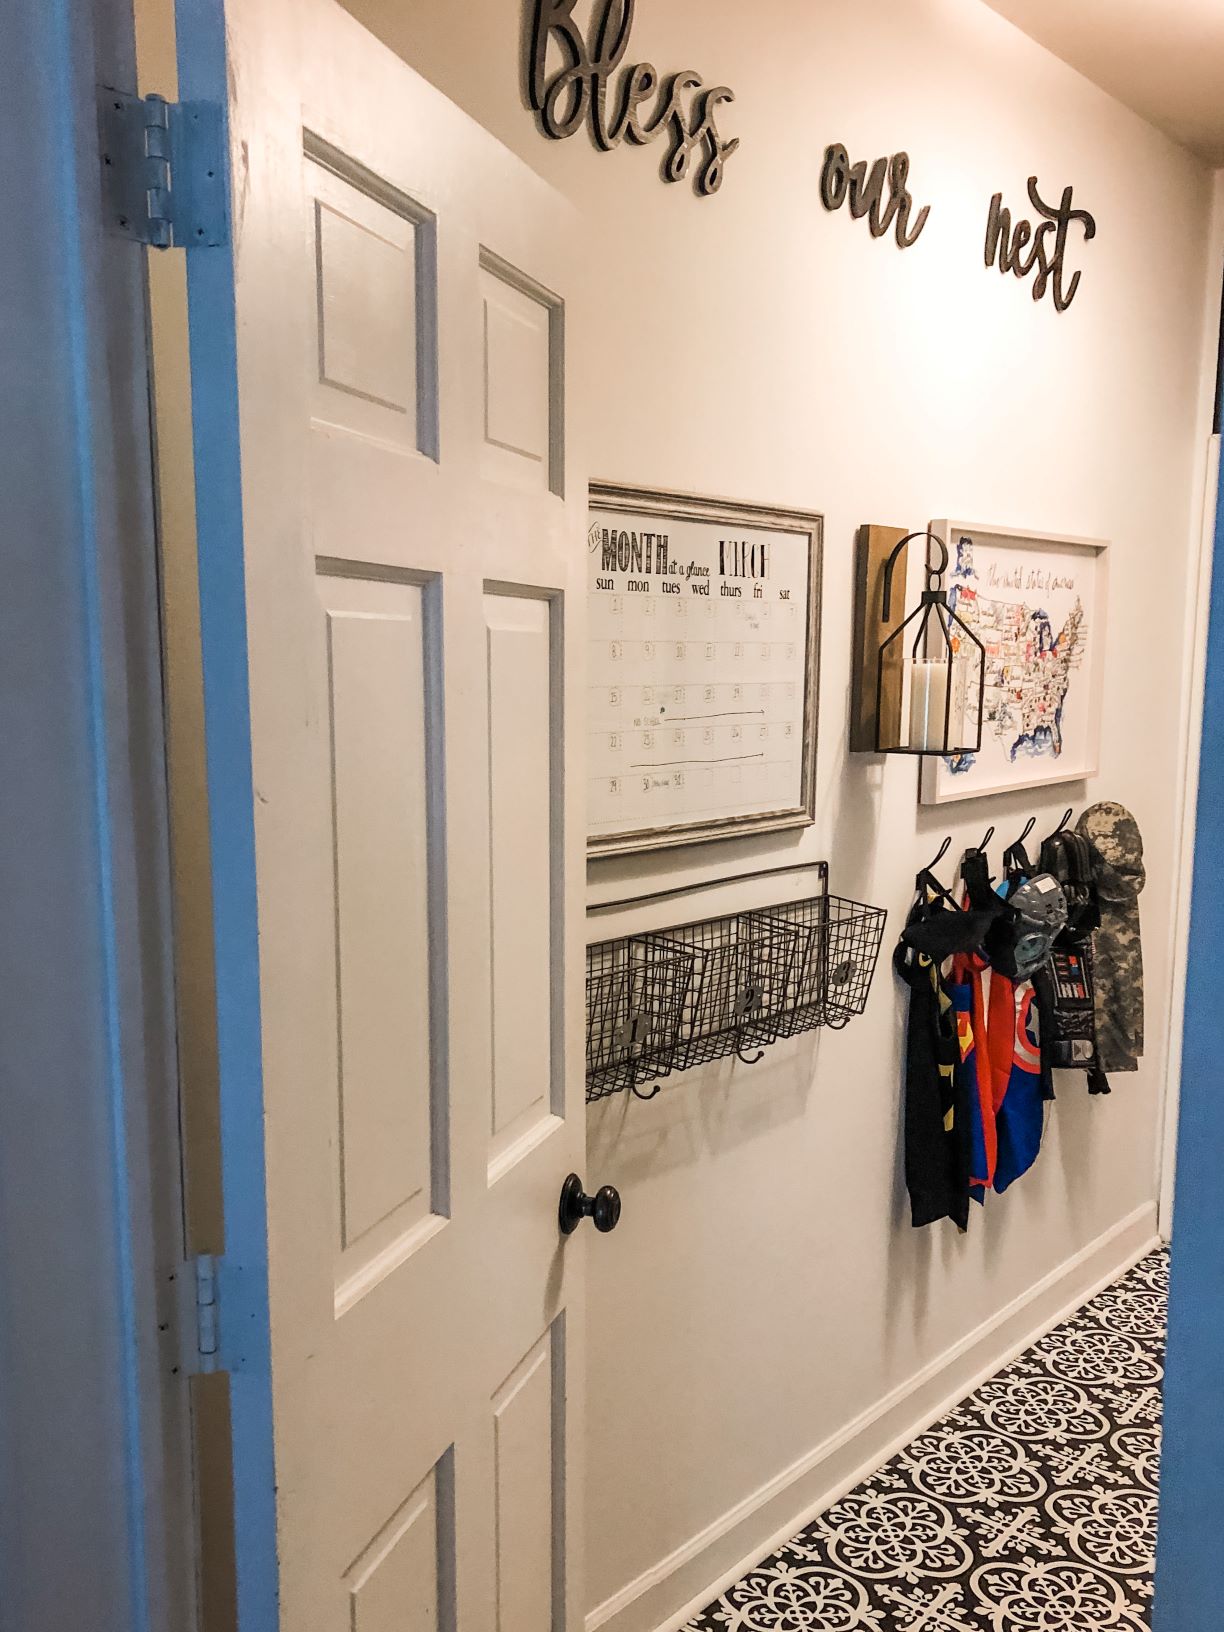
We hung the “Bless Our Nest” slightly higher then I would have liked, so we’ve been debating on whether or not to move them down slightly or to somehow fill that void between the wall décor and the letters.
I think ultimately I’m going to end up grabbing a few small oval frames and put silhouettes of my three kiddos in them.
I really am so happy with how it turned out though! Even though it took forever to figure out what we wanted on the walls and then even longer to actually post about it, this project really was a super fast one that made a drastic difference.
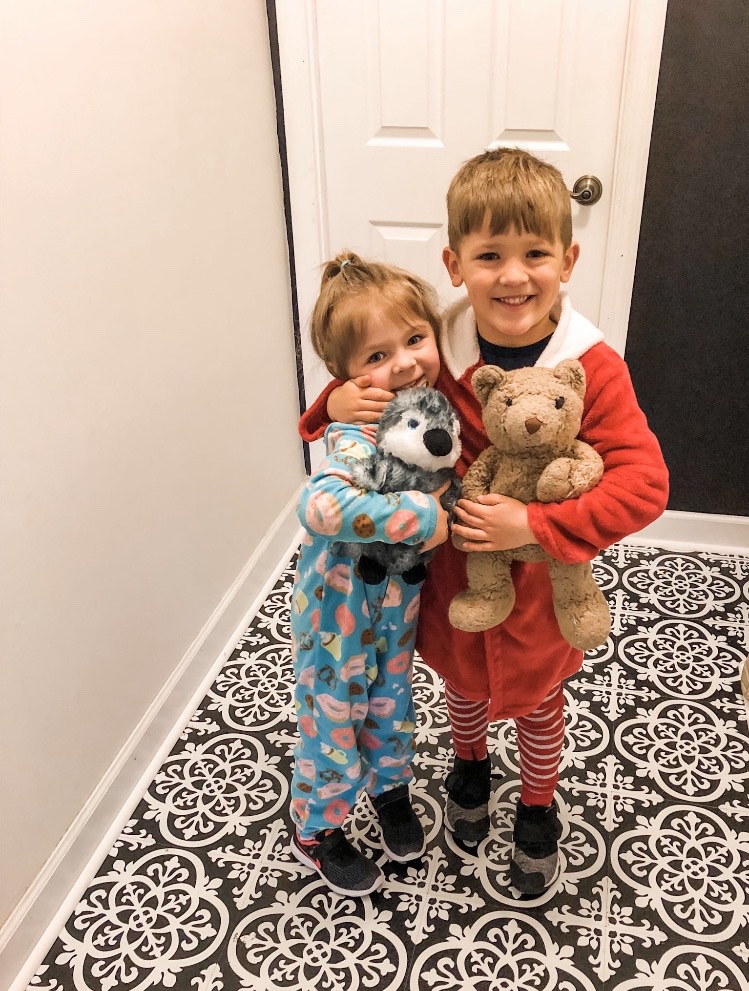
So there you have it! Big change is definitely affordable if you think outside the box a little! And use your resources. We are always scouring free things that people are giving away. Old to them but new to us!
My latest project is painting the cushions to a $10 patio loveseat we got last year! I’ll be posting that Tuesday or Wednesday this week so stay tuned!! 🙂
I hope you all have a great weekend!

**This post contains affiliate links, which means if you click on a link a make a purchase I could receive a small commission at no extra cost to you**
Wow! It looks amazing! I thought black would make it look smaller, but it really doesn’t from the photos. It look so good!
Author April 28, 2020 / 10:01 pm
Thank you Michelle! I was so hesitant about the black too, but I’m so happy we decided to just go for it! 🙂